Sunday, October 3, 2010

World Card Making Holiday Class


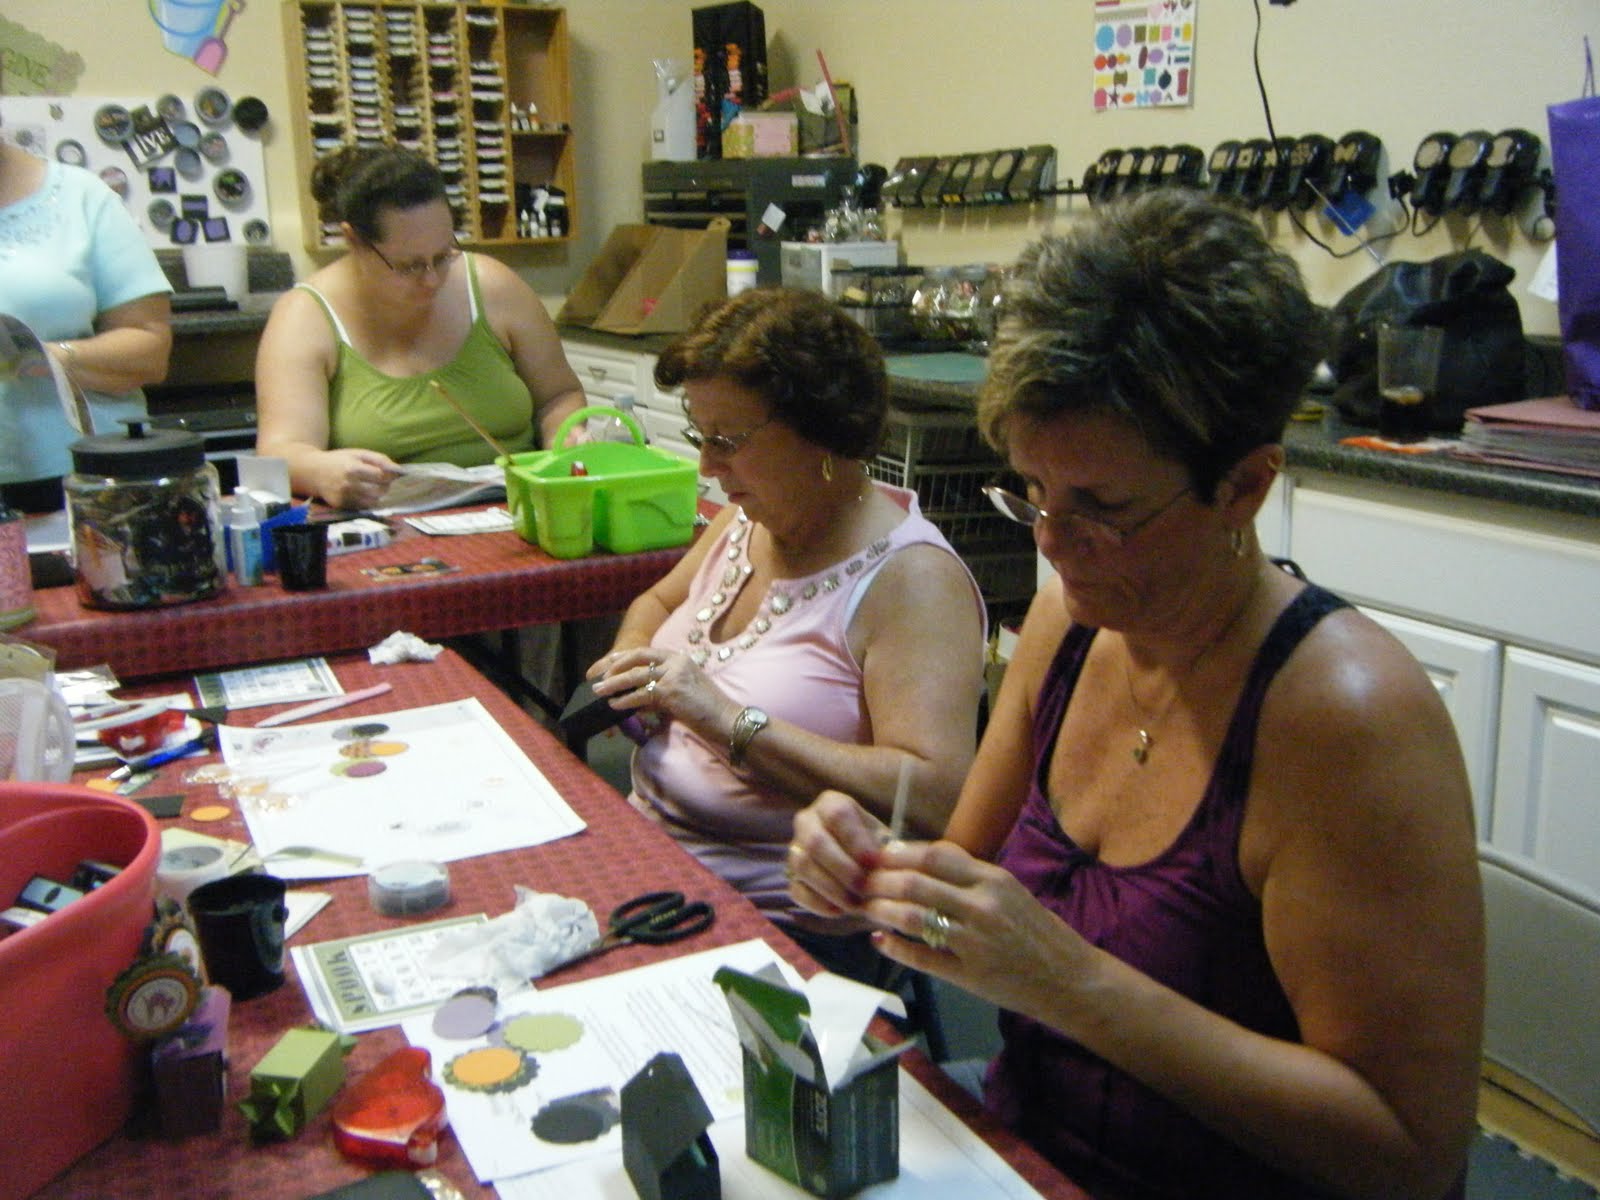
Teresa and Daniella are the newest members to our clubhouse!
They are creative naturals, that is what I love about this job! People often tell me I am not creative at all! Then they come to their first class and they see how easy it is to tap into the creative side of yourself that brings a lot of fun, relaxation and fellowship with your fellow classmates! Not to mention all the great things you can make for your friends and family!
We really enjoyed having them and we will see them at our Spooky technique class on October 21st!!
Our first card was truly a hit! The colors and configuration just worked well with this card. Loving the Wicked Cool Designer Series paper on pg. 172 #117400- $11.95
This DSP with a little Old Olive, Tangerine Tango, Black and Rich Razzleberry and some black lace your good to go! Don't forget the stamps sets Wicked Cool on pg. 23- #118738 only $19.95 and Dark & Dreary from the Holiday Mini Catalog 120837 $19.95 pg. 7, and the glimmer brads are only $4.95 top it off and make it pop.


We made this lovely Peaceful Seasons card with Deck the Halls DSP
(like the one I made my singing card with in a previous post)


Our little sweet treat was the two tag die treat holder with a DSP wrapped Twix inside with a sentiment on top of it. Too cute .Everyone comes up with their cutest version of decorating these we had a blast checking out everyone creativity. That's what it is all about sharing what you love with others.

This is a French Foliage Faux Tearing (kinda of masking & sponging) Card.
It is sooo fun to make !! Everyone had a blast! They got very creative too I learned alot today.
Want to learn this technique come up and join us for technique class!!
CS: Espresso, Cajun, Vanilla
Ink: Cajun, More Mustard, Old Olive, Espresso
Spiral punch, 5/8/ espresso grosgrain ribbon
Stamp Sets: French Foliage, Seasonal Sentiments both from the Holiday Mini catalog!!
This card was cased from Gretchen Barron with a few tweaks of my own. I love her stuff!

Thursday, September 30, 2010

Candy Cane Lane


Just got the Candy Lane DSP and had to make a Fancy favor Box house with it! also made a matchbox and several candy wrappers to go with it.

"Wishing You a Merry Christmas"


In the New Mini Catalog Stampin' UP! is offering NEW singing cards that are plain white on pg. 15 #121007 sings "We wish you a Merry Christmas" and #121009 is Recordable for ONLY $5.95!!
You can record your own message! How cool is that! Add a picture of the family?? So many cute things you can do with these. Above is my first card.
Supplies:
DSP: Deck the Halls
CS: Artichoke, Cherry Cobbler, Crumb Cake, Espresso
Stamp Set: Level 2 Hostess Set Peaceful Seasons-Embossed in Gold
Big Shot: Oval Scalloped Die, embossing folder Vintage wallpaper on the scallop around the oval
Gold cording around the top


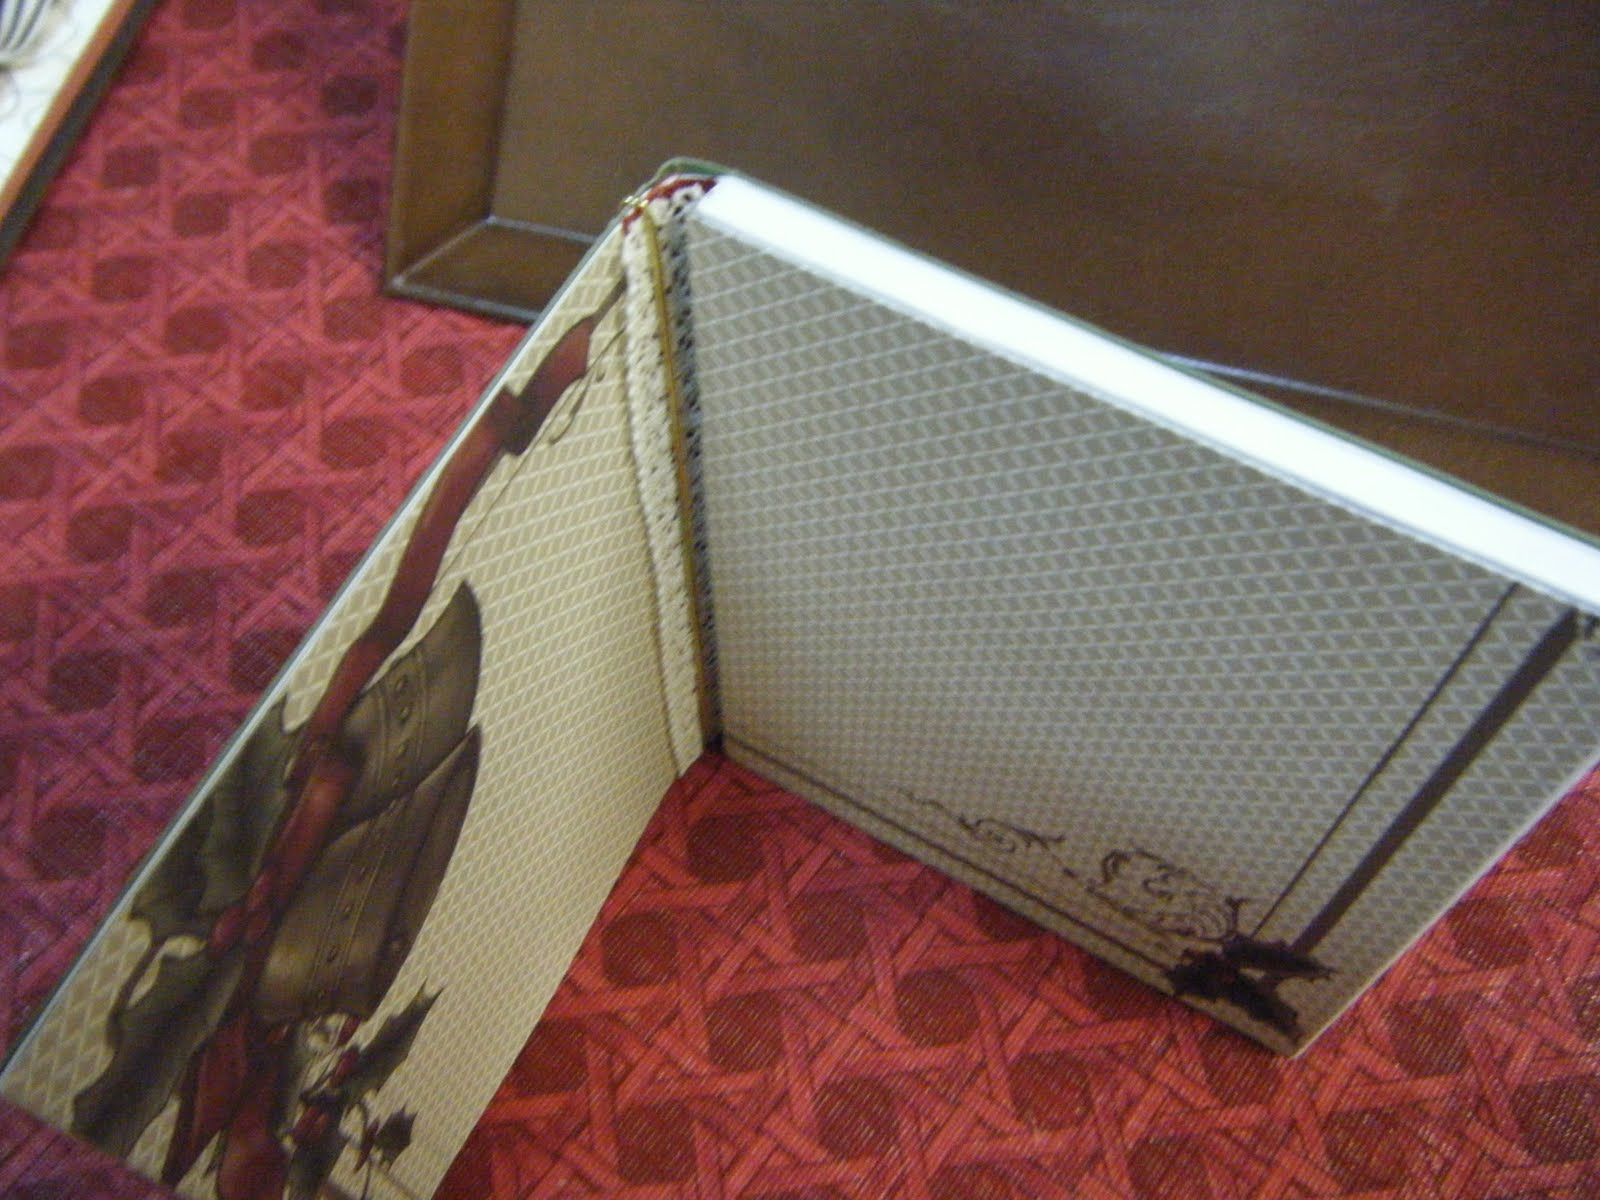
Shot of the inside: I used seem binding(cherry cobbler in the fold and topped it with Chantilly Crochet- Now I just have to pick my sentiment!

View from the top: On my next one I am going to add seam binding and tuck it under the DSP so you can not see the white of the card.

Wednesday, September 29, 2010

Big Shot 3 September class


Everyone had a interesting time learning how to fold and twist the candy wrapper! It is a tricky lil thing! TIP: Make sure to bone fold all your score lines back and forward making very crisp folds. You get deeper score lines if you sie cut 2 at a time, I would not do anymore than that at a time. It may cut thru the score lines.
Especially the sides(just like the milk carton) you must make sure the side folds are crisply folded so that when you go to fold & twist the ends they will go smoothly. This is one of the funnest die cuts so many ways to embellish it. It has been very popular among our group.
Vewe it in the Holiday Mini Catalog pg.10 #120890 $32.95
The matchbox die is also very versatile and can be used for party favors, wedding favors, small gifts on and on... they are super easy to make. You can only cut one at a time on this die.
Supplies: Autumn spice DSP (HMC) pg. 13 #120808-$11.95
Stamp Set: Days of Gratitude (matches the DSP) HMC-pg. 12 #120835 $26.95
CS: More Mustard, Cajun Craze, Early Expresso pg.166-167 $6.95
Ribbon: Pear Pizazz #119265-$8.95 1/8" Early Expresso Taffeta pg.191 #120931 $4.95

I used the #2 box and put the spongy foam for plant decorations inside the box and punched 3 1/8" holes zig zagged leaning more toward the top of the box to insert the lollipops. stick the lolli's inside the foam to stand up.
Supplies for Embellishments:
Punches: Extra Lg. Scallop Circle, 1 3/4"circle,1 3/8" circle & 1 1/4 circle, Bat
DSP: Wicked Cool Speciality -CS: Rich Razzleberry, Tango, white
Stamps: Batty for You
Ribbon: Old Olive 1/4" grosgrain $4.95, pumpkin pie 1/4" grosgrain $4.95 & elegant eggplant

Sandra and our guest at Big shot club for this month Dana busy working on their Lollipop box.

Leslie, Becky and one of our newest BIG SHOT CLUB members Miss Lora.
Busy as little bees making their projects. Also new member Diana just missed the picture.
Everyone did an awesome job and we had a fun day!

Tuesday, September 28, 2010

Holiday Techniques


Join us for Holiday class and you can make cool gifts like these for your friends and family!
Not crafty? No such thing....With Stampin' UP! it is easy to be crafty!
Especially with your own personal creative coach to teach you these trendy techniques.
Here is a great gift ensemble in Woodland Park DSP.
Matchbox, Candy Wrapper, & a Bread Box for a mini spice or pumkin loaf!
This is an awesome project to use the NEW Homemade stamp from pg.18.


We made this bread box with Wasabi for the base it takes a 8 1/2 x 11 sheet of CS. Then we embellished it with Woodland Park DSP. Chocolate 5/8 grosgrain ribbon, used the extra lg flower punch and stamped the sentiment Just for you "so you do not have to share" stamped in wasabi ink.


Marbling Technique
  • Use gold and silver Encore metallic ink re-inkers in a stamp box, you put several drops of each in the box and then put 4 or 5 marbles in the box with the ink.
  • Then take your piece of CS that you want to marble and put a little dotto on one side and stick it to the lid shake the marbles around in the ink and then flip the box over and up and down and all around and ink up the cs to the desired level .
  • Then sit the CS aside and let it air dry while you are preparing the rest of your card. There will be little dots of wet ink in certain areas dot them with a towel(you can use the heat gun also)Try not to smear them.

Inside of the card stamped with Level 2 Hostess gift Peaceful Season


Embossing Tin:
This is a metal DVD tin embossed with Silver Encore ink and Silver embossing powder.
  • TIP: You must use your embossing buddy powder up the top of the surface very good with the emboss buddy and we stamped it randomly with Serene Snowflake stamp set.
  • When stamping on metal be sure to stamp straight down & up do not wabble your stamp or rock it you will get a double visioned impression.
  • If you make a mistake before you heat it- take a Lysol wipe with the scrubby on the back and remove the image and powder.
  • Make sure to get all the image impression removed and then try again. If you heat it and it still has flakes where you did not get the embossing buddy on that area you can still take your fingernail and remove the image and then repeat the above removal step. It also depends on the tin some remove images better than others.
Trick is don't mess up! LOL- I have a pratice tin that I let everyone practice on first then stamp on your real tin. If your getting alot of flakes around the image your embossing buddy needs to be replaced!
Then we filled the tin with gift tags from Tags Til Christmas pg.24 in the Holiday Mini Catalog and tied a big red & white striped 1 1/2" bow around it!

Tuesday, September 14, 2010

It's SHINY!!


I have been wanting to do this project for a while know I have had the galvanized metal flashing I bought at my local hardware store for months. Finally the other day I got er' done.
I used the Fancy Favor Folds XL Die ( I love how versatile this die is you can use it for so many things!!) Item # 115970 pg. 208 then I embossed the metal with my Vintage Wallpaper embossing folder, look how purty the design on it are!

Then I wrapped sticky strip around the base of the tea light and lit it up with Champagne glass glitter. It turned out so good!

close up see the embossing patterns!
this will definitely be a BIG SHOT CLUB project, ladies.
what a great gift for someone's desk or anyone to show them how crafty you are?
I will say again girls "what did we ever do before the BIG SHOT?"

Sunday, September 12, 2010

Spooky Fright Night

Sneak Peak of Upcoming Halloween treats!


Inspired by Creations on Paper

Today's Card from our Holiday Stamp Class yesterday


Halloween Owl Card

Measurements:

Cut 5 ½ x11Tango Tangerine score at 4 ¼

White 5 ¼ x 4 emboss in spider web folder

Cut 2x2 3/4 tango back of sentiment

Cut1 ½ x3 White for sentiment

Cut 6 ½ inches of Pumpkin striped 1 ½” ribbon use dotto to adhere it to whisper white

Use scraps of black, old olive & tango for Bats & Owl

Assembly:

Tango base

Emboss white with spider went emboss folder

Take tango 2x2 ½ and use on the oval die on the middle oval run thru Big SHOT

Stamp choice of sentiment on white 1 ½ x3 cs then cut it to fit on oval or use a punch.

Owl assembly: Punch small oval (2) black ovals one for hat one to cut for hat point

Punch Owl in Black, large eyes in white and large (1) eye in olive then cut olive one in half to make eyelids

Punch the flank on the owl in tango use dotto to adhere it all together

Punch out some bats color of your choice out of scraps to decorate card as you wish

Accessories Need: Big shot $99.95 Item #113439pg. 204

Owl Punch #-$16.95#118074- page 200 (IBC),

Bat Punch (HMC) $16.95 #119279-pg.200

Small Oval Punch #119863 $15.95 pg.202

Sizzix Oval Die $15.95 #114525 (IBC) pg. 201

Spider Web EF (HMC) #120889$7.95 pg. 6