Monday, August 15, 2011

Naughty & Nice Memories


This month I will be teaching our Annual Scrap Tin Class!
What is a scrap tin you ask? It is a 24 page scrap book inside a metal DVD tin.
they make awesome gifts or a quick keepsake of photos for you to sit on a table in your home and trust my friends always pick it up and take a look.

The best thing is you can finish the tin in an afternoon and then just go home and add your pictures and a little journaling and your done! That is my kind of scrappin', quick easy and done!
This one is made from the Letters from Santa DSP and the Quick Accents that go with it.
If you are local and would like to attend this class I have 1 seat left on Sunday the 21st of September. If you would like to purchase the tutorial for this kit email me at www.whitneyrichardson1969@gmail.com.

Sunday, August 14, 2011

Timeless Portrait Shaw Card


Timeless Portrait Shaw Card

One of the first cards in the NEW Idea Book and Catalog I wanted to case was one on
page 51 the beginning of the Occasions section.
So I began my investigation of the accessories used to make it
(you can find that list on the right hand side of this blog)
Then tapped into what I had envisioned in my head for DSP and color combo's.
Since I am currently hooked on Timeless Portrait I added this to the ensemble I taught at my Big shot class for the month.
Trust me the bling makes everything!
Alot of people often ask me how you know what colors to use together and make great color combo's? Simply for me, I take whatever DSP I am using and just tie in the colors of CS from that DSP and you really can't go wrong. That is why I love Stampin' Up! all their products match and tie in together!
Accessories:
  • Cherry Cobbler 5 1/2 x 4 1/4
  • Vanilla: 5 1/4 x 4
  • (2) black 4inch strips to use your pinking border for top and bottom of vanilla insert (below)
  • 1x 10 1/4 black DSP from the DSP pattern paper packs for the wrap around bring the end together in the front and your medallion will cover them up.
  • 3x3 Cobbler for the medallion in the middle from the NEW Pennant die (the larger one)
  • (2) 4x4 Cherry & Vanilla DSP Timeless Portrait and use the clear circle die to wrap around the sides of the back of the Cherry quarter inch piece of CS base, only dotto the back flaps down.
  • The top flaps will be secured with the black band and the pennant medallion on the front
  • I used the stamp set Happiest Birthdays Wishes (Greatest Hostess Set on pg 10)for the sentiment with the circle scallop punch on vanilla in Cherry ink.
  • MY NEW FAVORITE STAMP SET IS CREATIVE ELEMENTS PG. 137 (MHIYS)I used it to decorate the insert and the stamp set
  • I used is Pursuit of Happiness sentiment and embossed it in black craft ink and black embossing powder to make it pop more.
  • Also added a bit of the cherry cobbler dotted ribbon for the pull tab.
THEN the BLING!
Stock up on your rhinestones!!


Here is the completed card.
Hope you enjoy.


Wednesday, August 10, 2011

Upcoming Big Shot Holiday & Card Club


Holiday Sneak Peak
Are you curious?!!
Well, stay tuned for more juicy details on this class, but in the meantime, you can check out my Events Calendar at this link
www.whitneyrichardson.stampinup.net
I've got Christmas card classes coming up, Fall and Christmas/Holiday Decor classes, my ever popular "Wow!" Big Shot Club & Christmas Cards Club.

Big Shot Club will be starting it's 3rd annual season beginning
on the 2nd Saturday of each month.
October 8, Nov 12th, Dec10th


Requirements for Big Shot:

You have purchased a Big shot from me
( I have a great payment plan option for a Big Shot kit)
for new customers that want to join Big Shot.
Monthly purchase requirement is $50.00 per person and we have a drawing for
Mystery Hostess. (** amount varies on the number of club participants.)
Membership fee for all 3 months of club classes is $65.00.

Exciting news!!

This year I will be offering Big Shot Club projects to customers via
mail. Look for more details to come!

Tuesday, August 9, 2011

Semi annual Holiday Scrap Class


August 21st- Sunday 10am-2pm-

Christmas Scrap Tin class $42.50

Early bird price $37.00 by August 12th- ONLY4 seats left

Complete a 24 page scrap book in a DVD tin in just one day!!

then go home and add your pictures, or give it as a gift to a very special friend!

Class includes a pack of the DSP Letter's From Santa on pg.185 & the Quick Accents on page 186 and a DVD tin plus your kit will be pre-cut and prepared for you ready to assemble.

You also receive the Rules of Chocolate word doc for the candy tins.

The class will be $42.50 pre-paid due by August 18th,

**Due to the specialty of the class is non-refundable or transferable, You will receive all the left over materials from your packet of supplies and you should be able to make another tin or two out of it.

Please email & register today to reserve your seat. Limited seating.


Sunday, August 7, 2011

My Parents 50th Wedding Anniversary Party Part Two


This was the cake table right past the display board as guests walked in the door.
I had all my goodies I made for my Mom & Dad's table here.

This is the front of the card box I made for them out of an old Perfume box I got a couple of years ago, I hung onto it for just the right project.
I used the New BIGZ die cut Peek a Boo frames from the NEW Holiday Mini Catalog.
This is absolutely my number one new Big shot product.
It compliments some of our favorite punches and is perfect for
scrap book pages and card accents.
The gold frame around the "Celebrating 50 years" can be made from that die& the Top Note die

Here I used the NEW Mocha Morning Specialty DSP (pg.183-#122366-$12.95)
A gold piece of mat board & I printed the CARD BOX on glossy brochure paper.

I lined the box with tissue paper that came in it. See the little peek a boo door in the top of the box also from the NEW Peek a Boo die cut.

These are bride & groom boxes made out of the petal cone die,
tasteful trim die, and the heart punch.
The cake, I used empty embellishment containers and scallop die cuts of all sizes layering up. With the beautiful SU satin white ribbon on the wedding dress and
then the black & white 1/8 inch taffeta on the groom.
Both were made out of the wedding series DSP.


I think this was my favorite and a hit at the party. I made the guest book with the SU On Board Journal pg.191 covered it with the Bride & Groom DSP and the brayered red embellishment I got at a expo when the smooch spray came out. I was so happy with the way it turned out.
I originally made it for a guest book sign in- but I though this is awful bi and has alot of pages so I added the option for them to tell a funny story they shared with my parents or a message they wanted to give. I stamped a few of the pages as seen below.
Stamp Set: Word Play and a new set from the (HMC), & the Have a Seat & Creative Elements sets.


Everyone passed it around and told stories and wrote wonderful sentiments.
My Mom & Dad enjoyed reading it so much.

My Parents 50th Wedding Anniversary Party Part One


These are my parents pictures from their wedding album that was literally falling apart when my Mom handed it to me and asked me to make a picture board for them.
We had the board at the entrance as the guests came in the door.
My Mom & Dad seem to really enjoy the board they were constantly up there with friends showing the pictures, everyone can't believe how young they were.
They met at 14 (MOM) & Dad was (16) and have been together ever since.
They married on August 4th, 1961. Mom was 16 & Dad was 18.

I have to say in this day and time it makes me so proud to be able to say my parents have been very happily married for 50 years, lived in the same house for 40 years and are active pillars of their small town community. My parents have always been an amazing example of endurance.

This is the card I gave them for their day!
I made it with the petal cone die which makes an awesome heart card.
Directions: will posted step by step in the next days to come.

We just returned home from a whirlwind weekend of party giving and visiting with old friends and family. I am so enjoying looking at all the pictures, I see a really big scrapbook project coming hopefully for a Christmas gift.


Many more pictures and projects to come!!

Saturday, August 6, 2011

Are We Forgetting the Most Important Part of Stamping


A sick puppy card for a friend

A Cars card for a grandson

The Grinch Fancy Favor Box

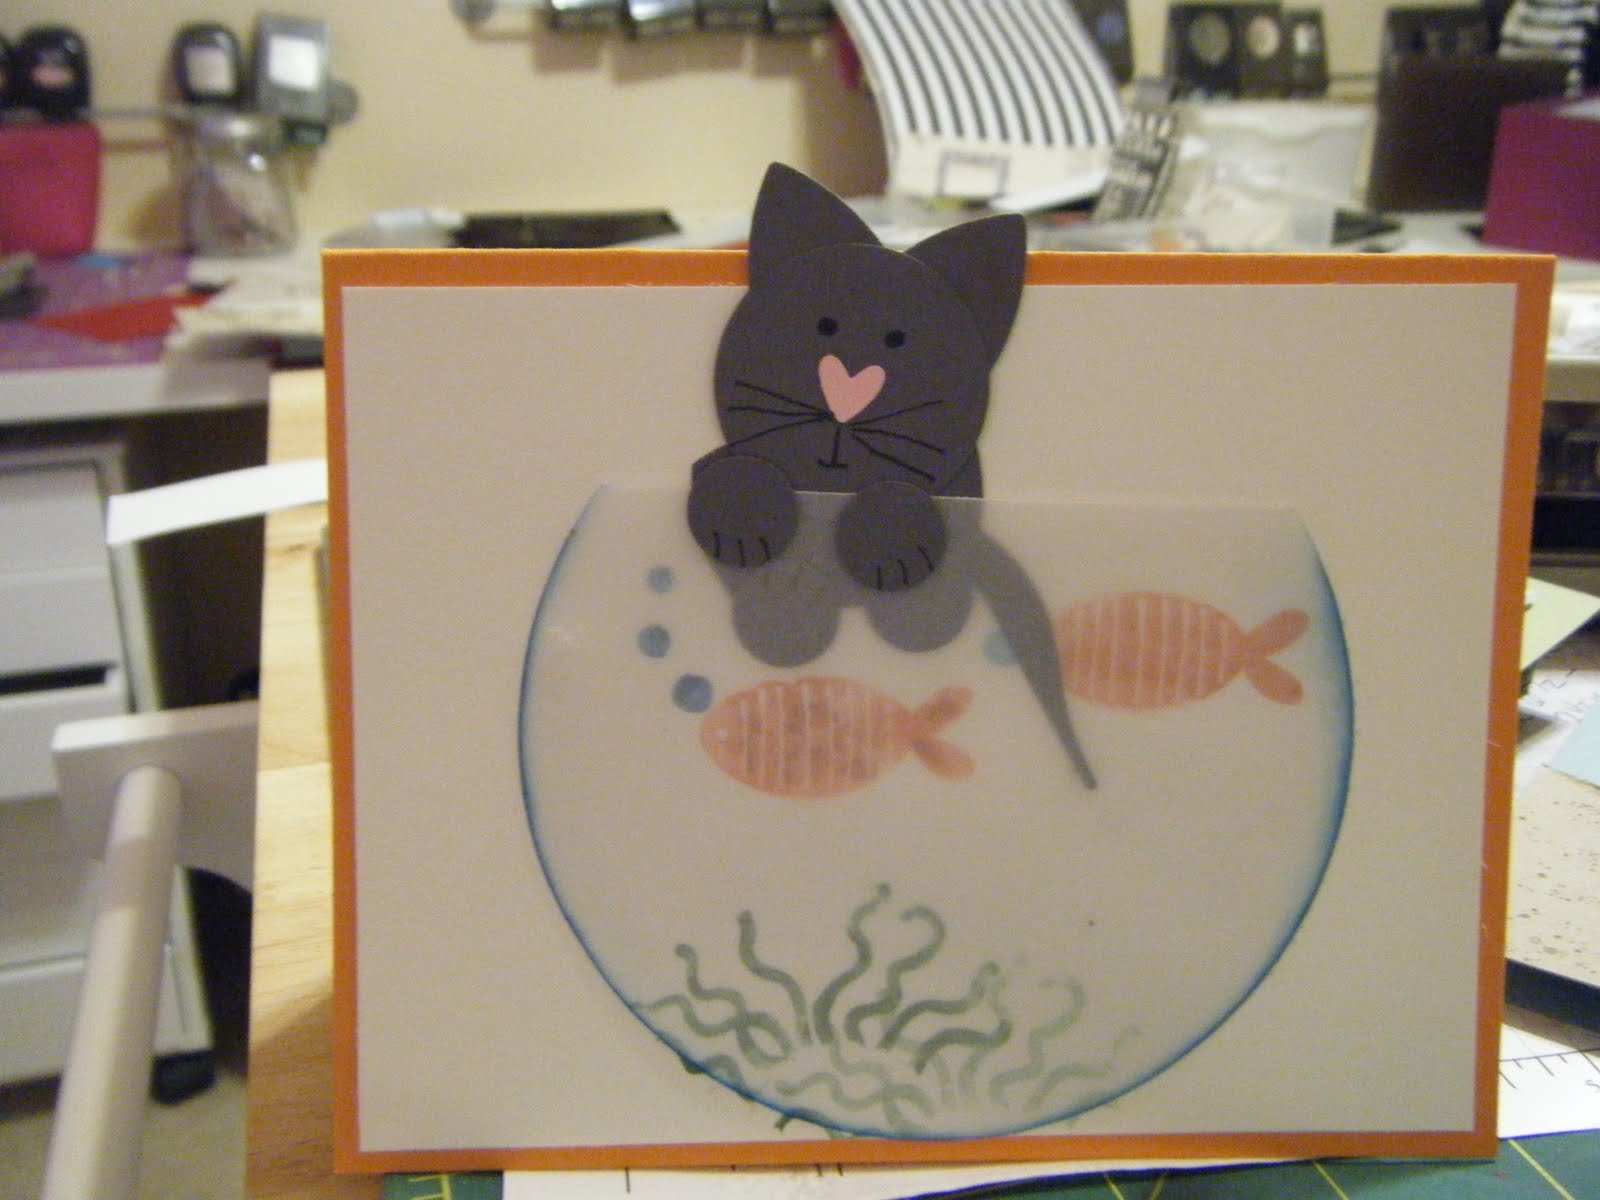
Kitty in a fishbowl
*** all cards above made by Deb Brown the punch art Queen of our group!
I see so many techniques we have learned in class in these cards!!

Are We Forgetting an Important Part of Stamping?

When was the last time you put a hand-stamped card in the mail to someone? Picture your friend, trudging out to her mailbox in 100+ degree weather, opening the mailbox door and pulling out a stack of mail. She flips through the pile, finding mostly flyers, bills, and wait, what’s this?? A sweet Whisper White envelope — “High quality!,” she thinks to herself. And what’s that on the corner? Could it be… a hand-stamped little picture? “What a great day for mail,” she’s thinking now with a smile to herself.

Isn’t it a great feeling to pass that friendly smile along? When you have your stamps out to craft a card, remember to pick up the envelope you’re going to use and add a quick decoration to the outside. Let your friends and family know right there at the mailbox that there’s something fun in their mail that day. Don’t forget to stamp your envelopes!


My customer Deb Brown is a faithful class participant and she is constantly making cards and sending them to friends and family. So I had to ask myself am I really remembering the real reason I stamp? Am i getting those cards I teach out to friends and family when they are in need or do I hoard them and look at them on my shelf.


So I challenge us all to put a smile on someone's face with a hand stamped gift or card not through social networking a Happy Birthday email but a beautiful creation by our own hands.


Have fun!